ProxyShard Extension
Extension for Chrome, Firefox, and other browsers
ProxyShard – Smart Proxy Manager is our official extension for Chrome, Mozilla Firefox, and other Chromium-based browsers (Edge, Opera, Brave, Yandex, and others). It lets you add, switch, and test proxies straight from your browser in just a couple of clicks, with no third-party software needed.
What the extension can do:
- Stores an unlimited number of proxy profiles
- Supports HTTP / HTTPS connections in all supported browsers
- Supports SOCKS5 in the Mozilla Firefox version
- One-click profile testing (latency, country, IP)
- IP rotation on a timer or by hotkey for mobile proxies
- Bypass lists and advanced domain routing
- Localized into English, Russian, Ukrainian, and Chinese
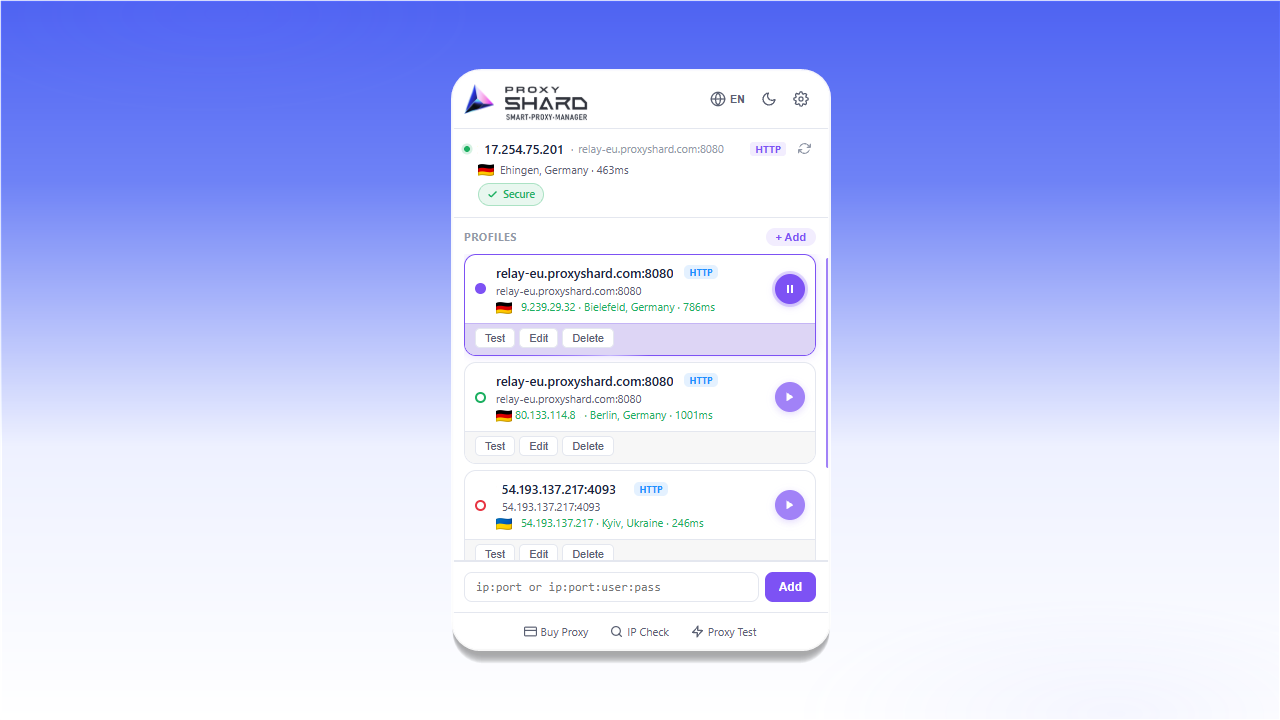
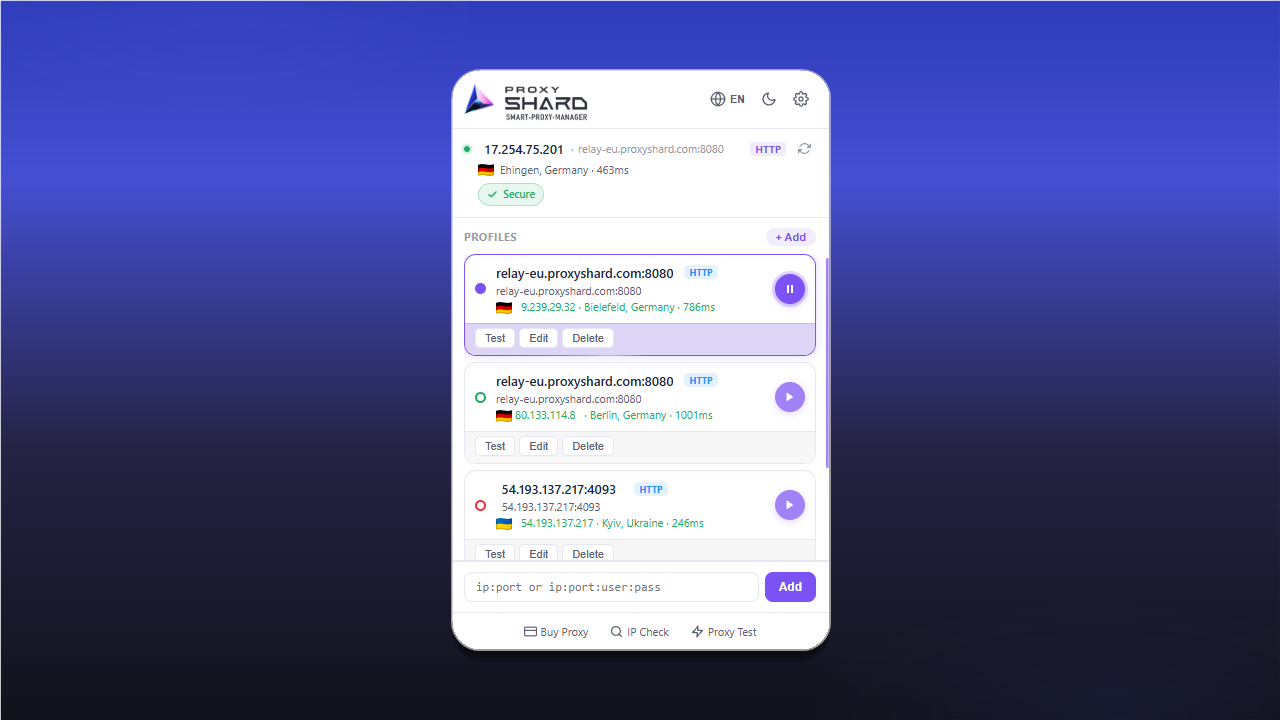
ProxyShard extension overview
Installation
The extension is available in the official Chrome Web Store and Firefox Add-ons. The Chrome Web Store version also installs without issues in Edge, Opera, Brave, and other Chromium-based browsers.
Chrome, Edge, Opera, Brave, Yandex, and other Chromium-based browsers
chromewebstore.google.comhttps://chromewebstore.google.com/detail/proxyshard-%E2%80%93-smart-proxy/ohlcikccaeapbfpmejhckfjjddkcflbeMozilla Firefox
addons.mozilla.orghttps://addons.mozilla.org/en-US/firefox/addon/proxyshard-smart-proxy-manager/Once installed, open the extensions menu (the puzzle icon next to the address bar) and pin ProxyShard for quick access by clicking the pin icon next to the extension's name.
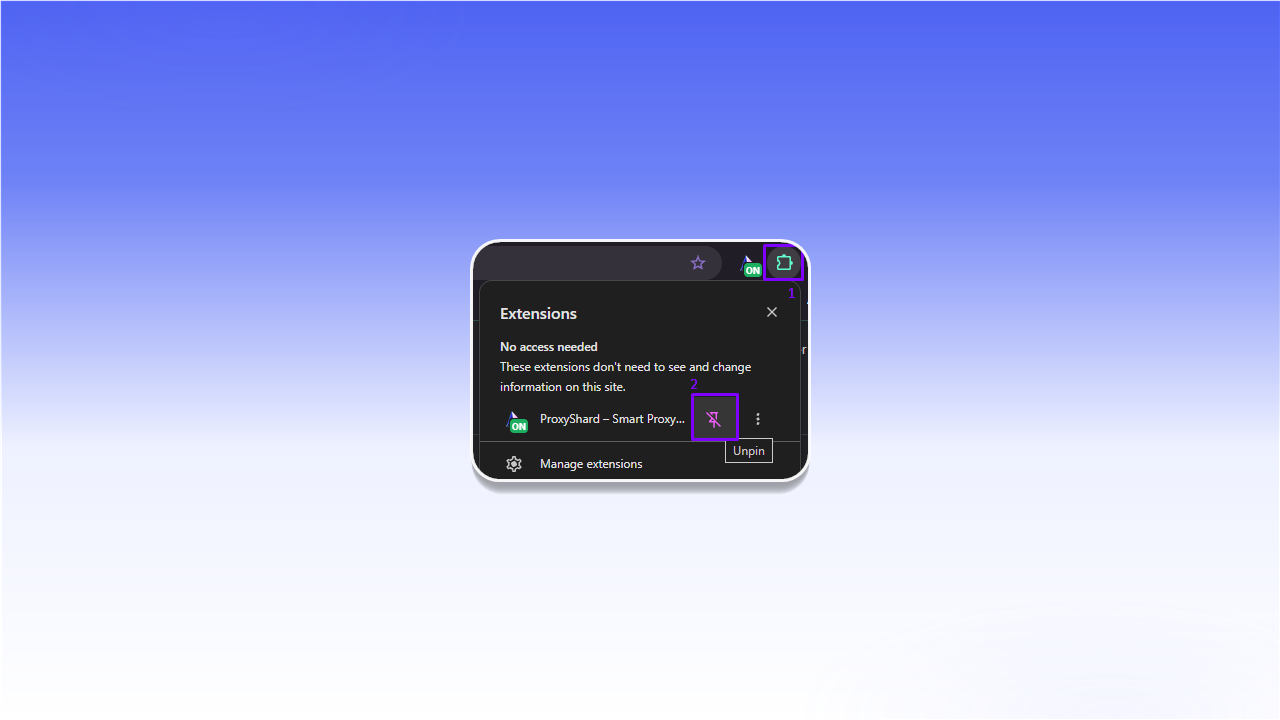
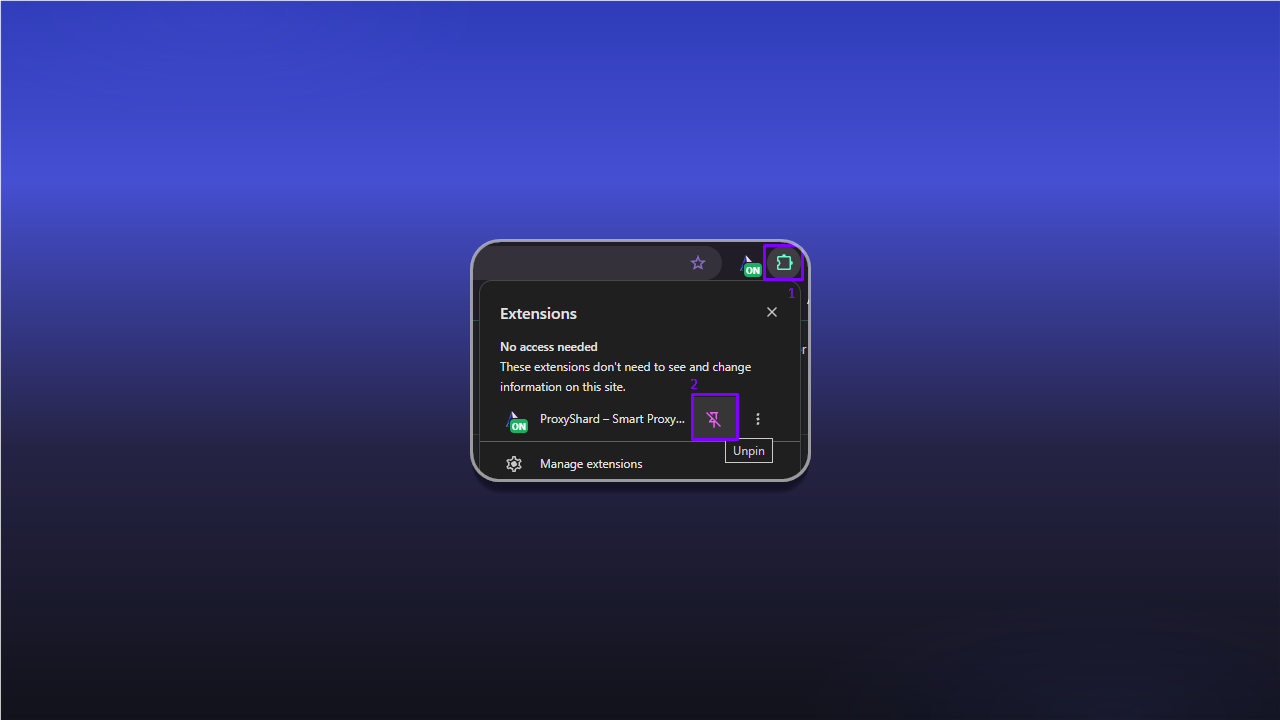
1) Open the extensions menu. 2) Pin ProxyShard.
SOCKS5 limitation in Chromium-based browsers
Google Chrome (and other Chromium browsers) does not support login/password authentication over SOCKS5 proxies out of the box. For Manifest V3 extensions, this limitation still applies.
You can use SOCKS5 through the extension only:
- without credentials (anonymous proxy), or
- with IP whitelist binding
For proxies that require authentication, use the HTTP / HTTPS protocol, which is fully supported.
SOCKS5 in Mozilla Firefox
The Mozilla Firefox version of ProxyShard Extension supports SOCKS5 through the extension, so you can use SOCKS5 profiles directly in Firefox.
Setting up Residential proxies
- Open your order on the Residential proxy page and configure the proxy parameters (country, region, protocol, TTL, port, etc.).
- Click Generate proxy, and the generated proxy will appear in the Proxy List block on the right.
- Copy the connection string with the Copy all button.
- Open the ProxyShard extension (the pinned icon next to the address bar).
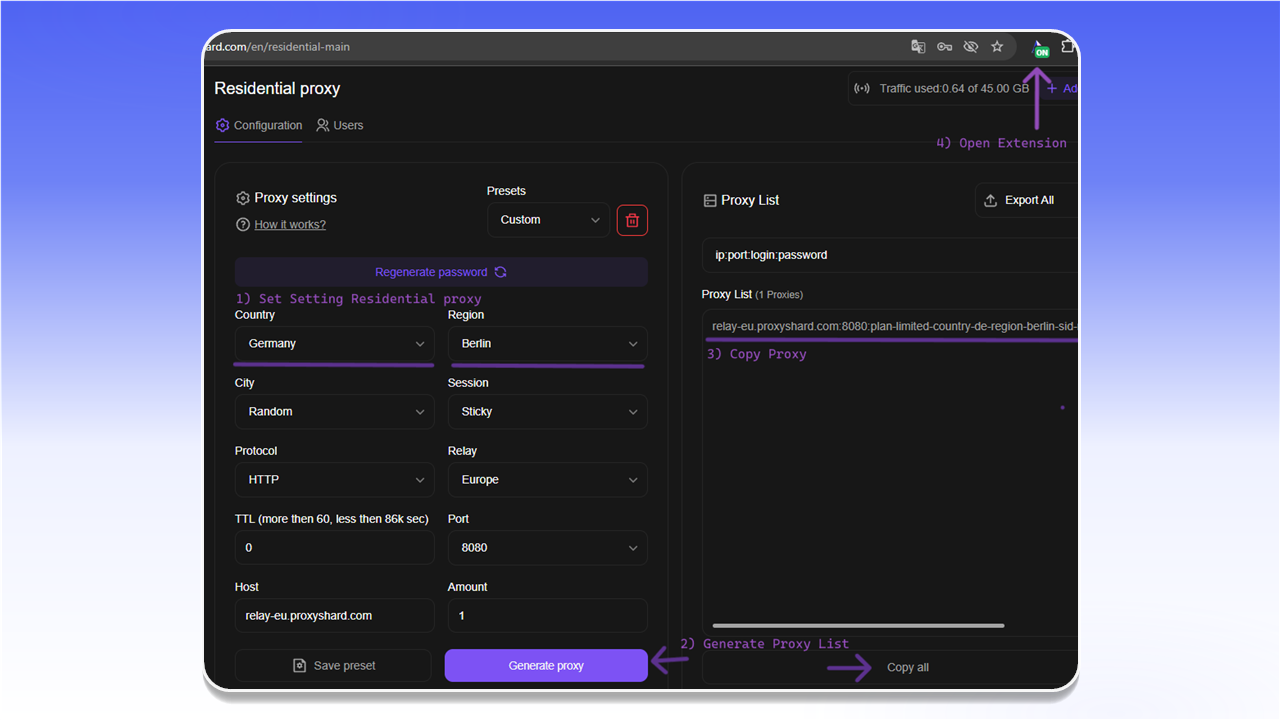
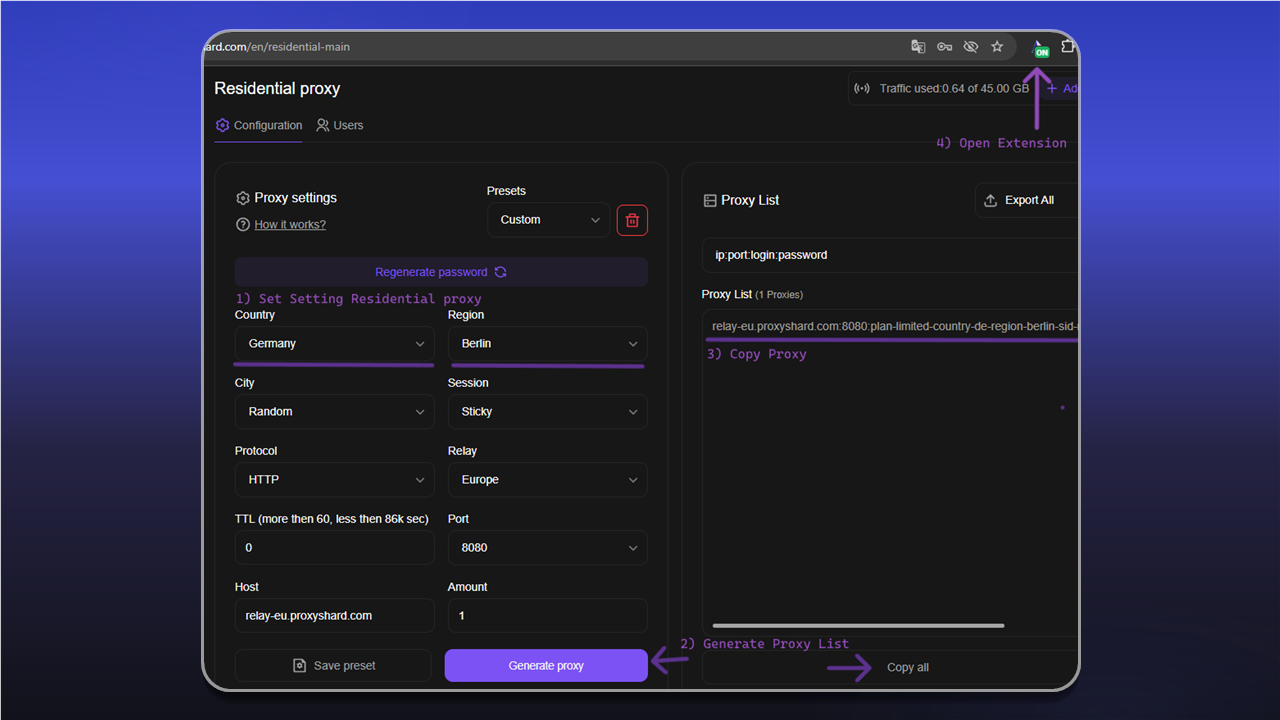
Steps 1-4: configuring and copying the proxy from the dashboard
- In the field at the bottom of the extension, paste the copied string in the
ip:port:login:passwordformat and click Add.
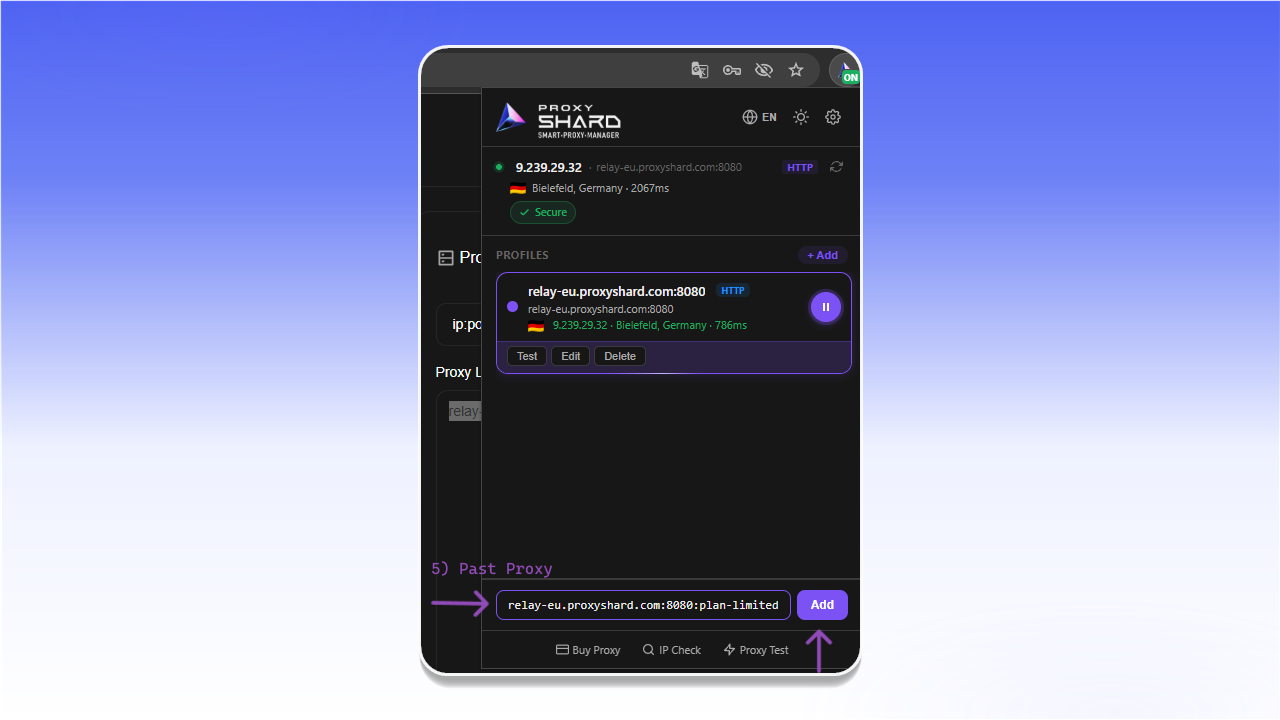
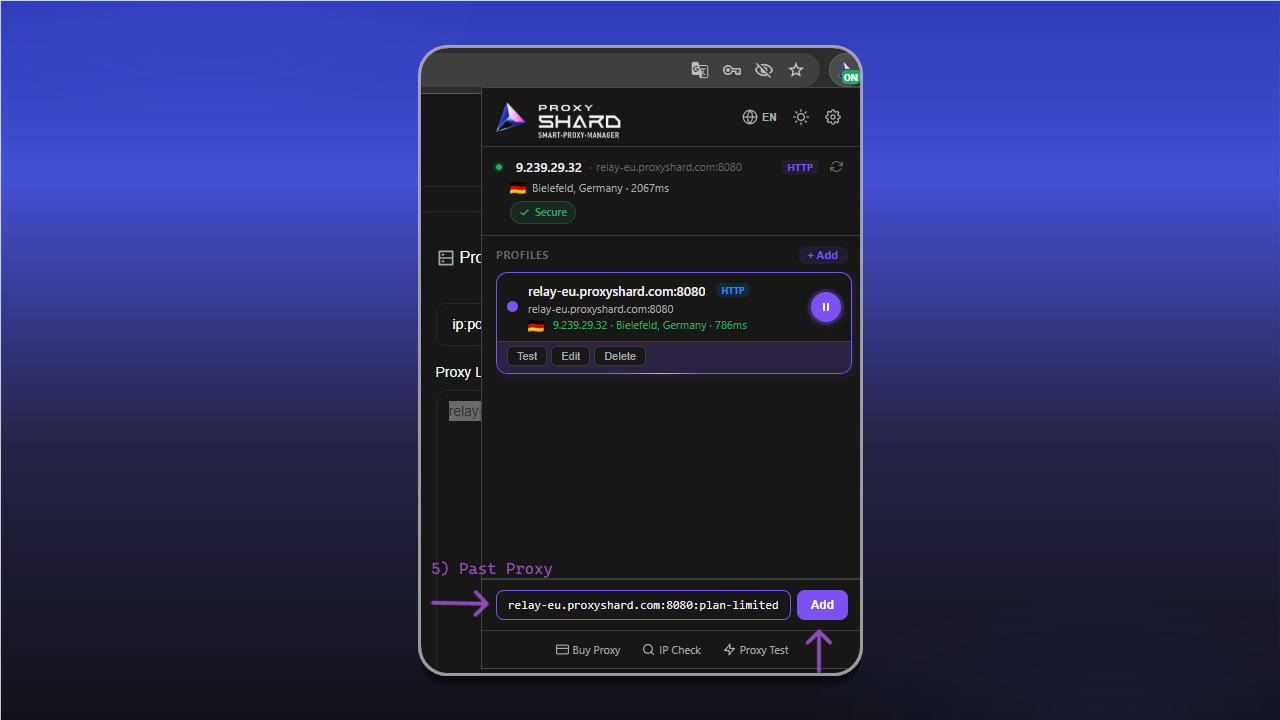
Step 5: pasting the proxy and adding the profile
- The profile will appear in the list. Click Test to verify it works, and the Play button to activate the proxy.
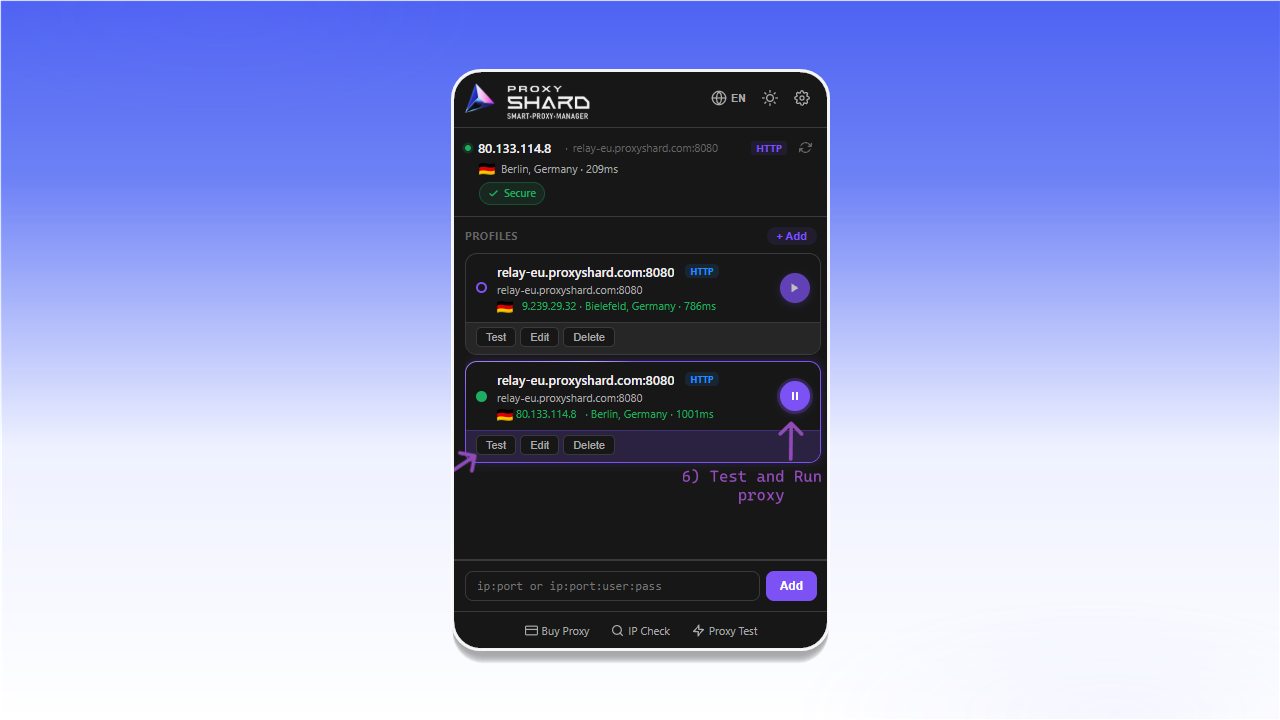
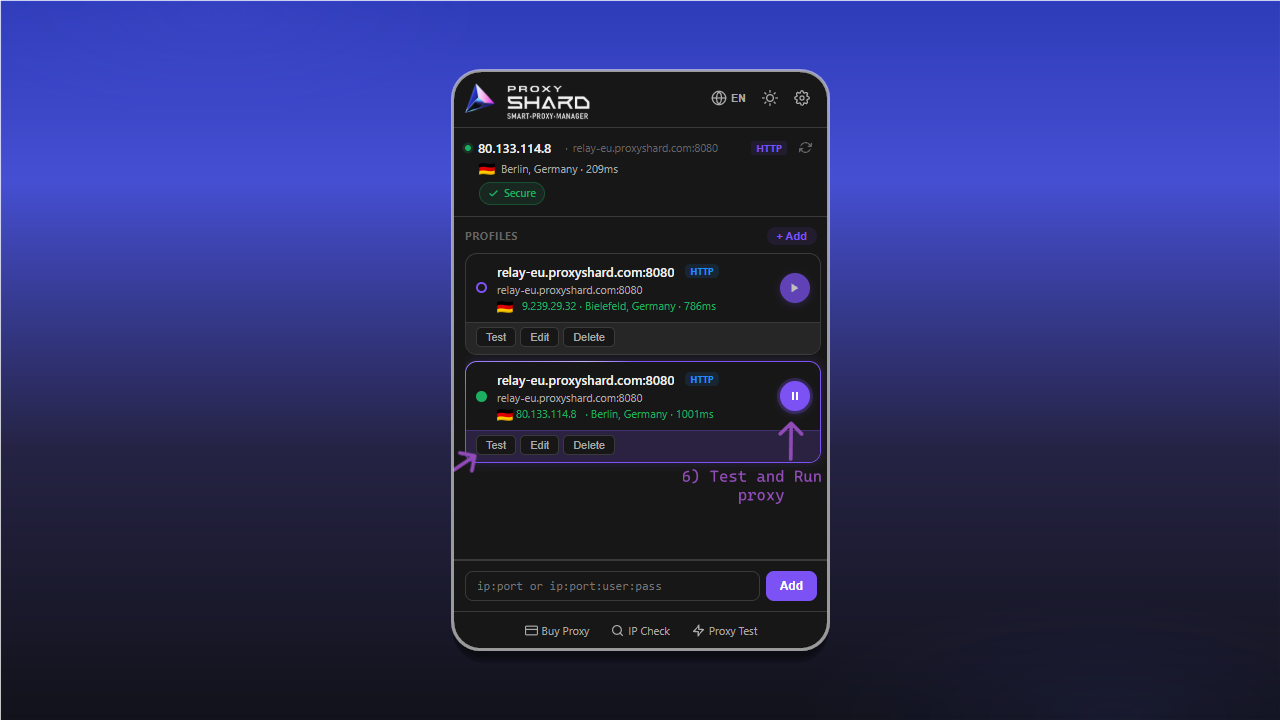
Step 6: testing and starting the profile
Setting up Datacenter / ISP proxies
- Open your Datacenter or ISP proxy order on the dashboard and copy the connection string from the Proxy List block.
- Open the pinned ProxyShard extension.
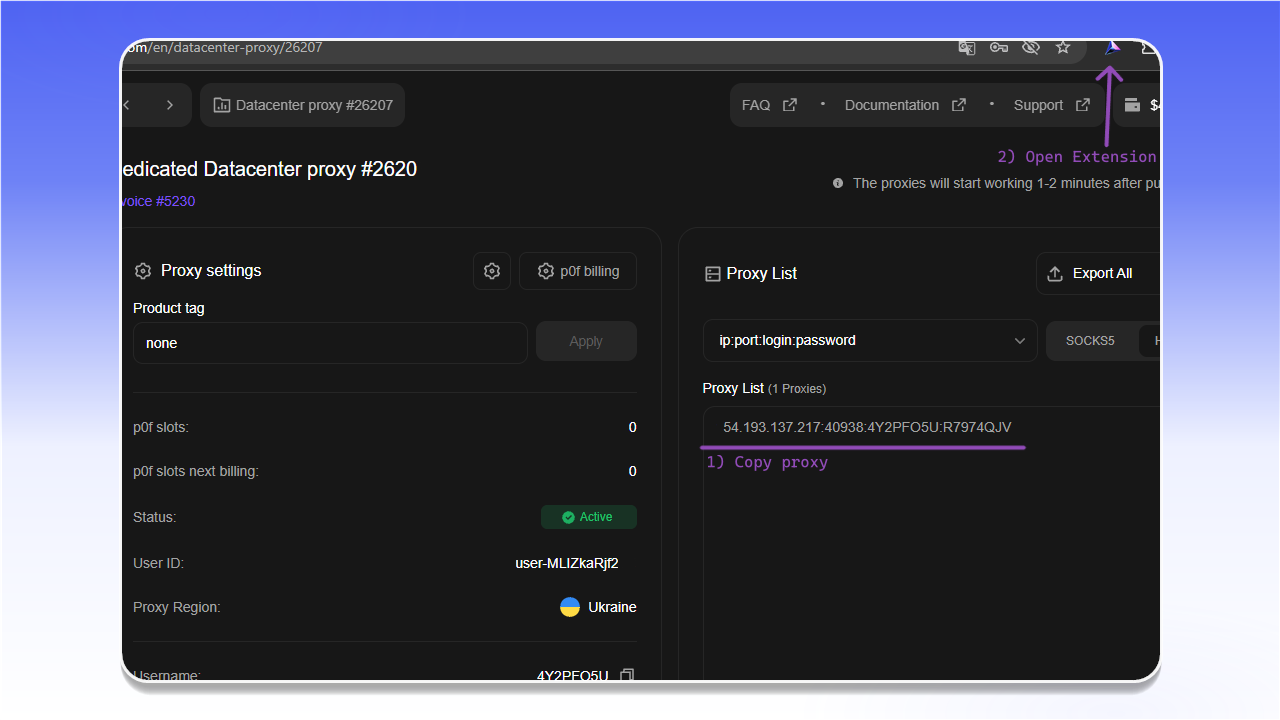
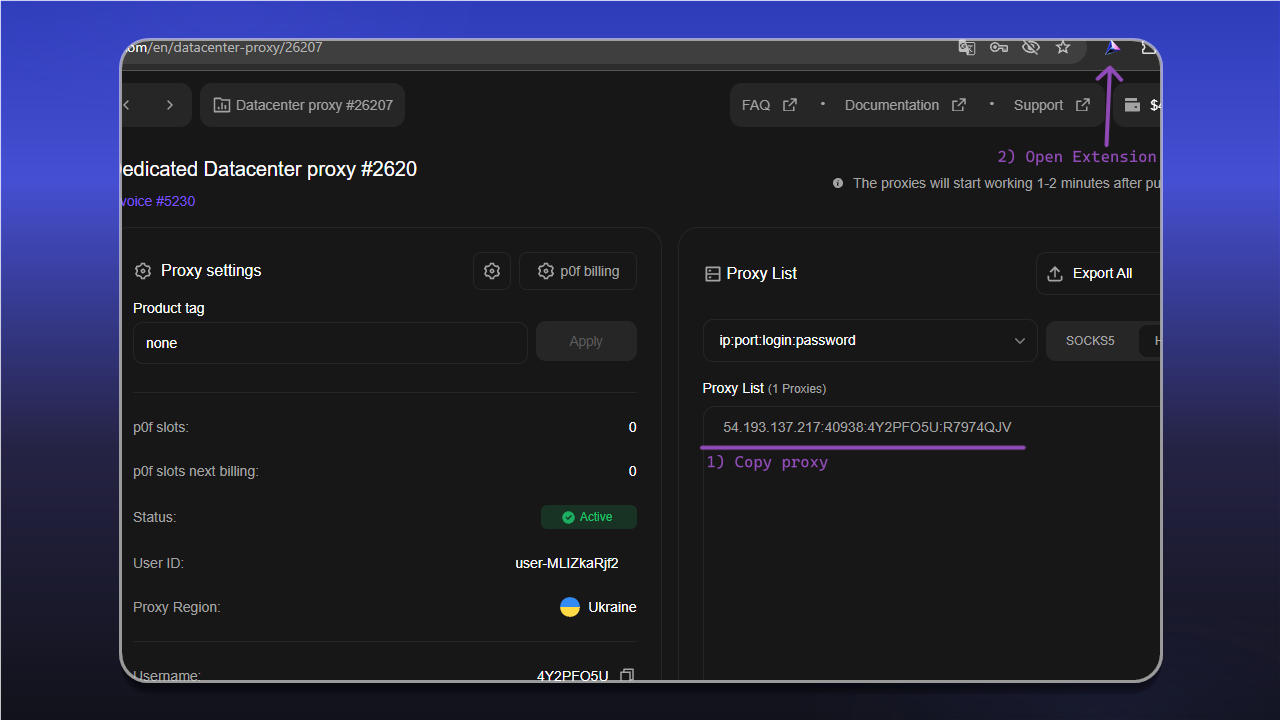
Steps 1-2: copying the proxy from your order and opening the extension
- In the field at the bottom of the extension, paste the proxy (
ip:port:login:password) and click Add.
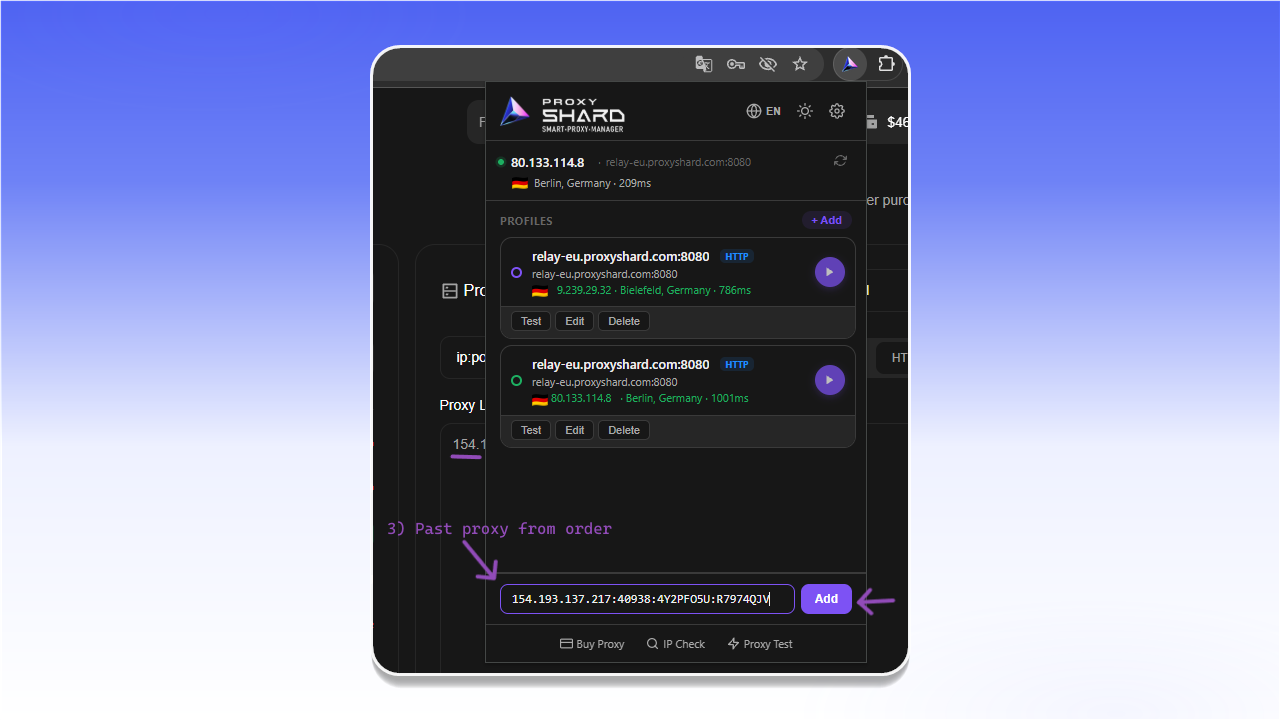
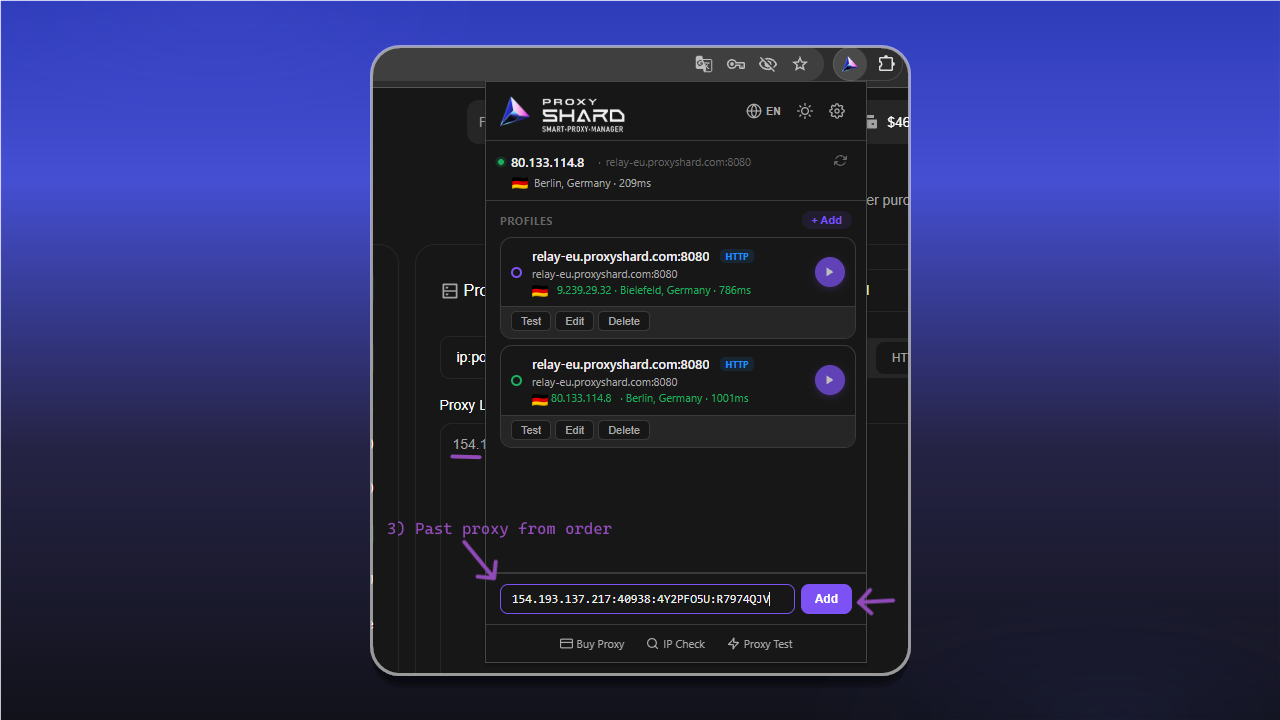
Step 3: pasting the proxy into the extension
- Click Test to verify, then activate the profile with the Play button.
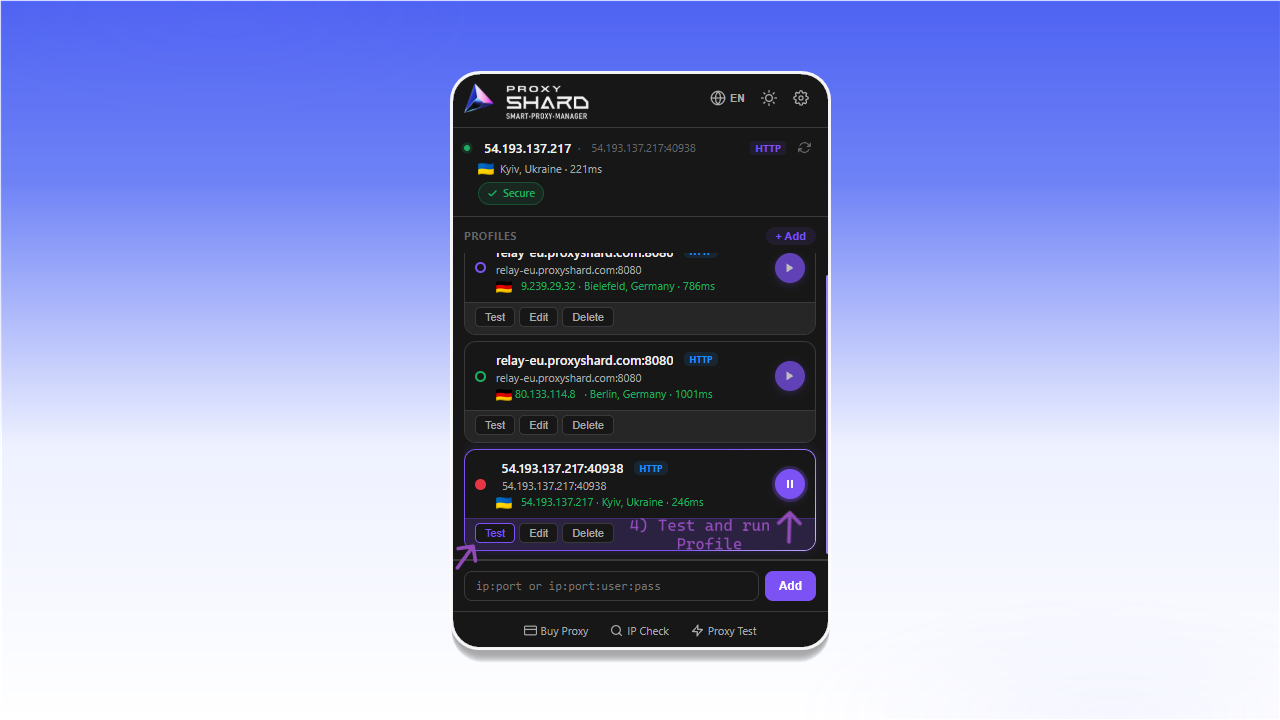
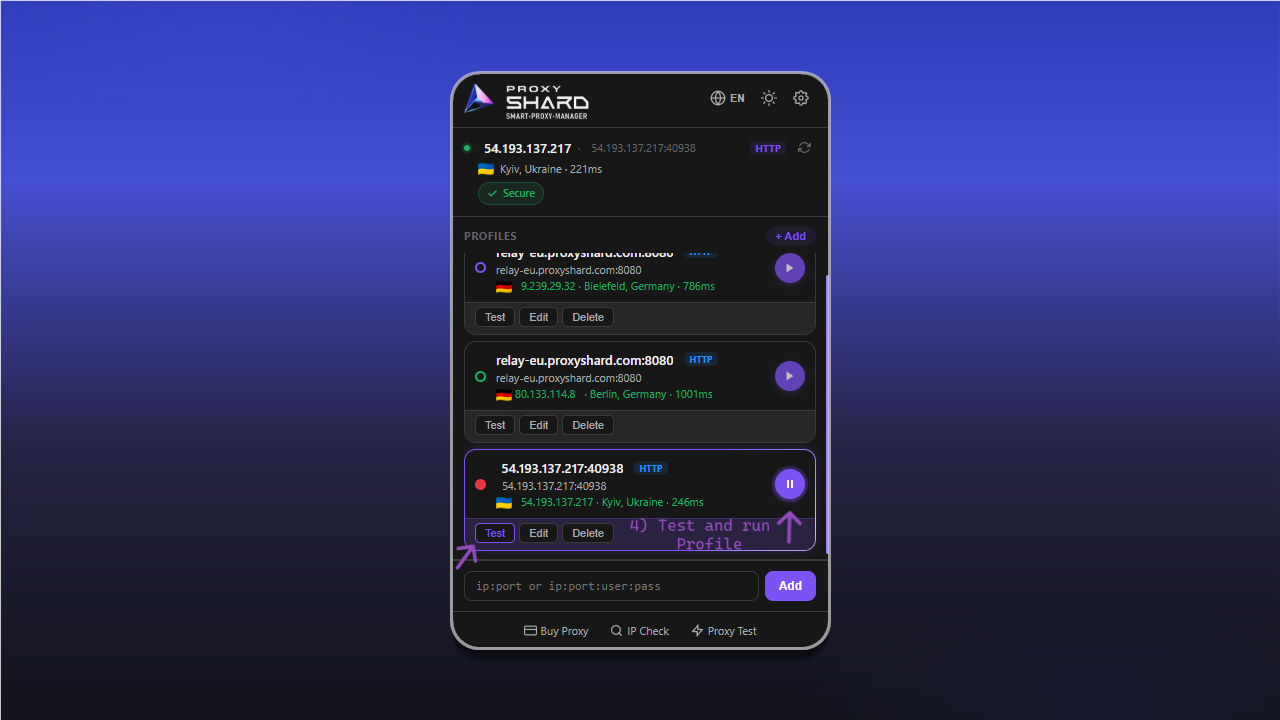
Step 4: testing and starting the profile
For Mobile proxies: IP rotation on a timer or by hotkey
When editing a profile, an IP Rotation block is available, which is especially useful for mobile proxies:
- Rotation URL - paste the IP-change link from your mobile proxy order, and the extension will hit it automatically.
- Trigger: Interval - rotation will run at the time interval you set.
- Trigger: Hotkey - assign a key combination (for example,
Shift+F2) to rotate the IP on the fly. - Track IP history - duplicate-detection feature: the extension will notify you if the same IP address repeats during your session.

Adding a profile manually
If you'd like to create a profile by hand instead of pasting a ready-made string, use the full + Add Profile form.
- In the extension, open the Profiles section (via the gear / settings icon).
- Click the + Add Profile button in the top-right corner.
- Fill in the profile parameters:
- Name - any profile name you like
- Color - a color tag for convenience
- Type - protocol (
HTTP / HTTPSis recommended) - Host and Port - the proxy server address and port
- Bypass List - list of IPs / domains that should go directly, bypassing the proxy (one entry per line)
- Username / Password - authentication details
- Click Save Profile.
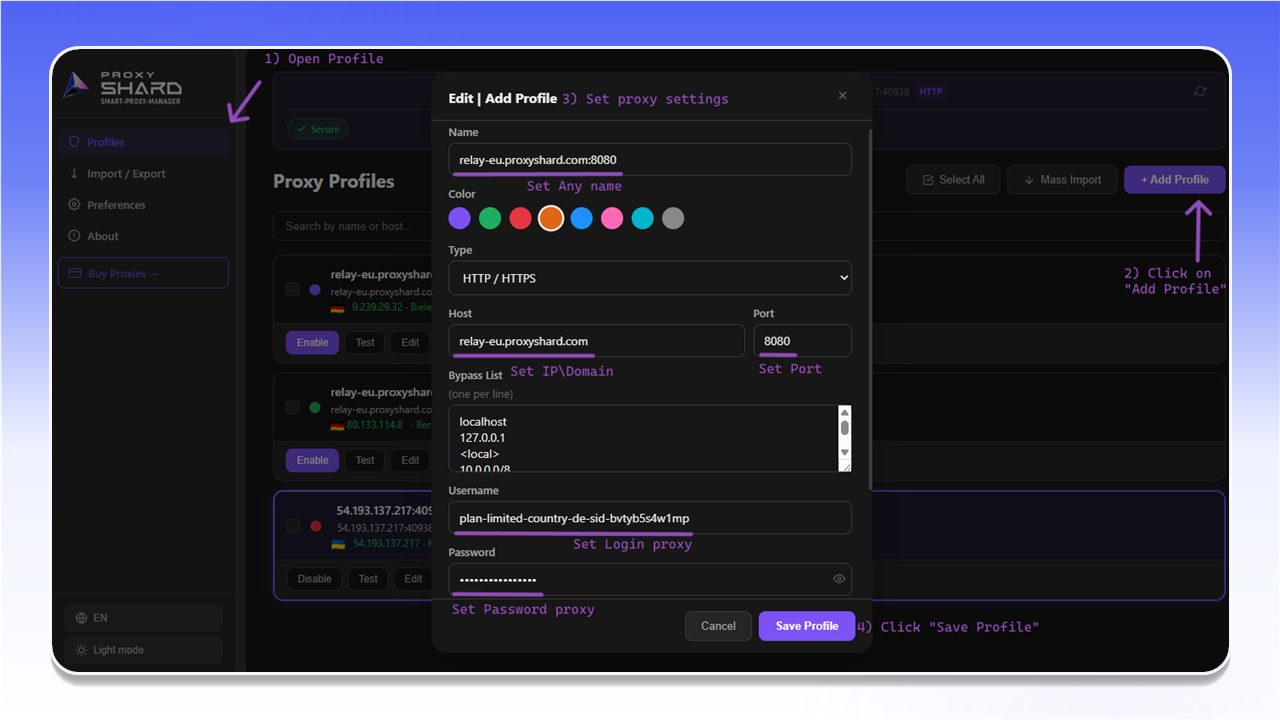
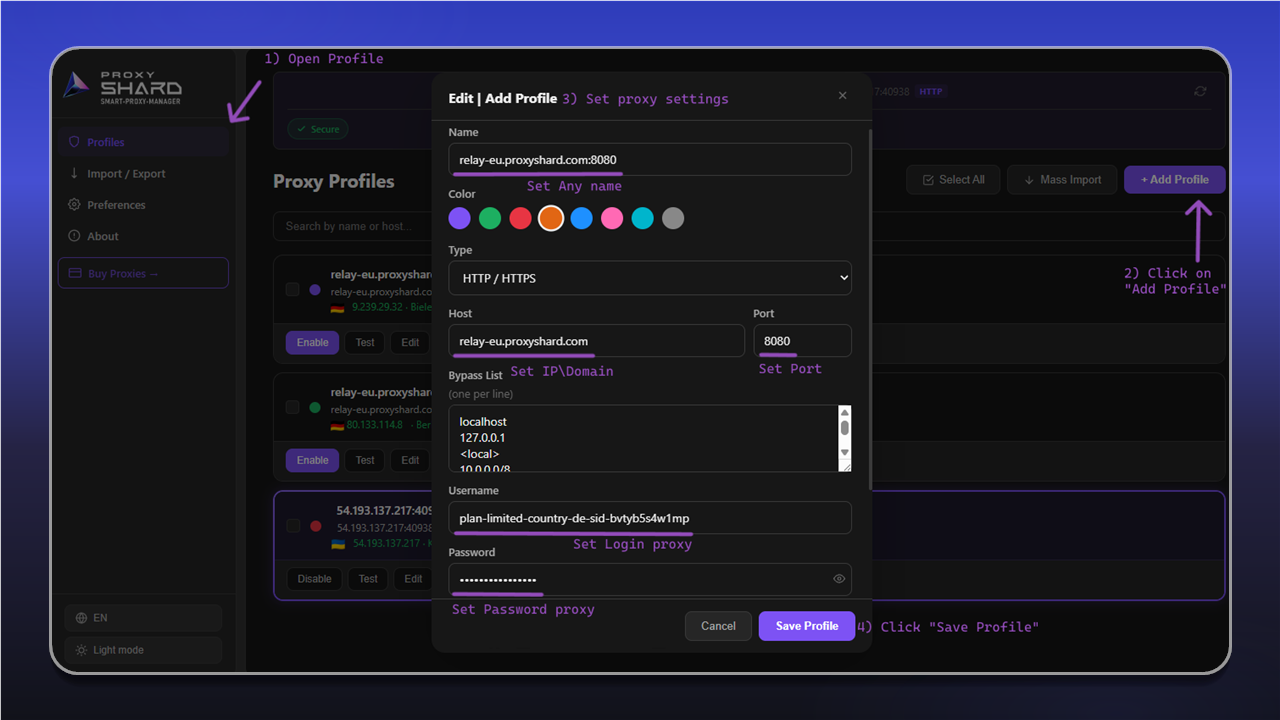
The full profile creation form
Done! The ProxyShard extension is fully configured and ready to go. Switch between proxies in one click from any supported browser.
Last updated on